LiteTracker: How to Create and Manage Stories Step by Step
LiteTracker is built around stories. A well-crafted story drives work, clarifies acceptance, and keeps teams aligned. This guide walks through each field and workflow decision when creating a story in LiteTracker, so you can write consistent, actionable stories that move quickly from idea to done.
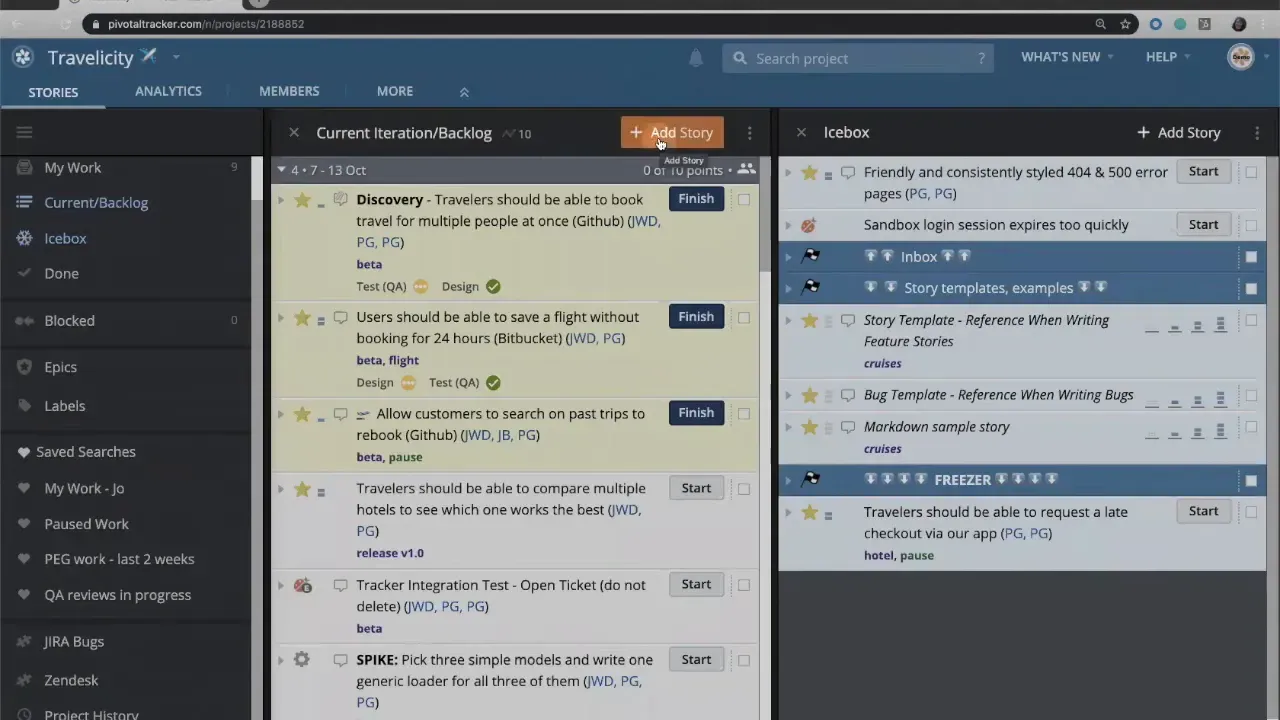
Step 1: Choose where to create the story
Open your project and decide whether the story belongs in the icebox or the current iteration backlog. Use the Add Story button at the top of either column. The icebox is your inbox for ideas you are not ready to plan. The current iteration backlog contains prioritized work you are committed to, scheduled in the current or a future iteration.
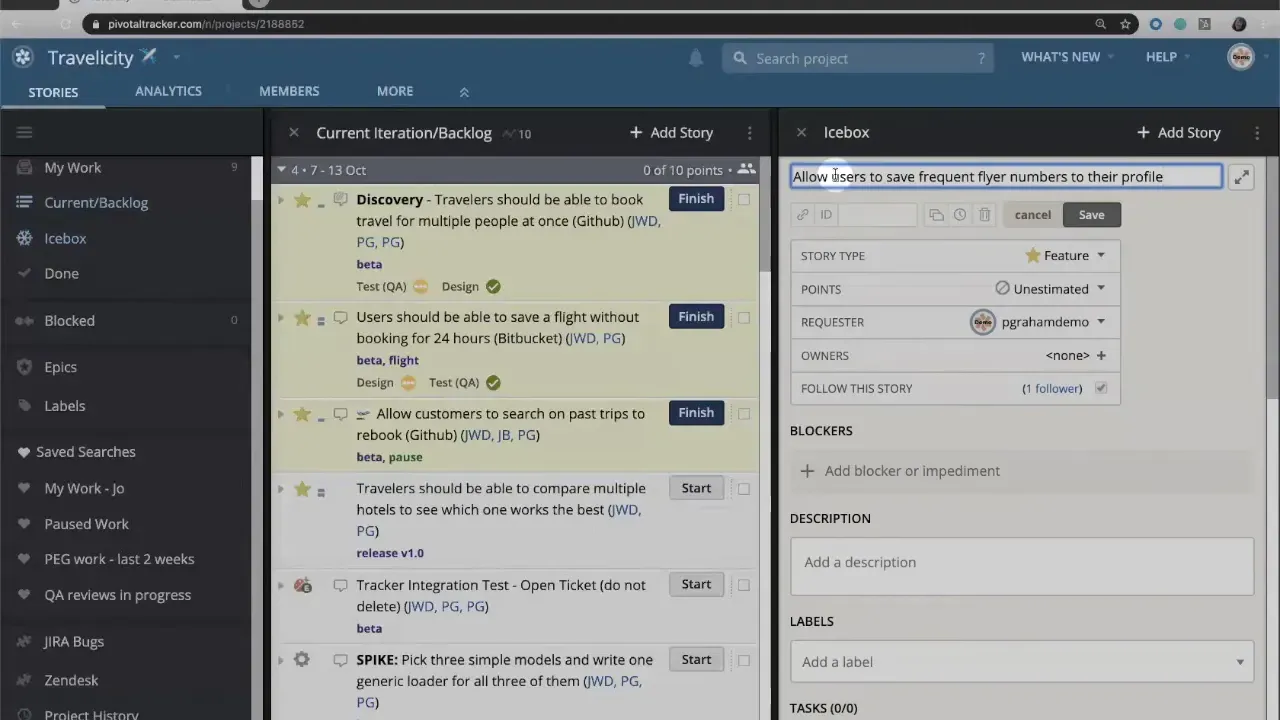
Step 2: Write a clear title
Write the title in the user-story format when helpful: "As a [role], I want [capability] so that [benefit]." For example: "As a frequent traveler, I want to save frequent flyer numbers to my profile." A concise title signals intent immediately and improves searchability across LiteTracker.
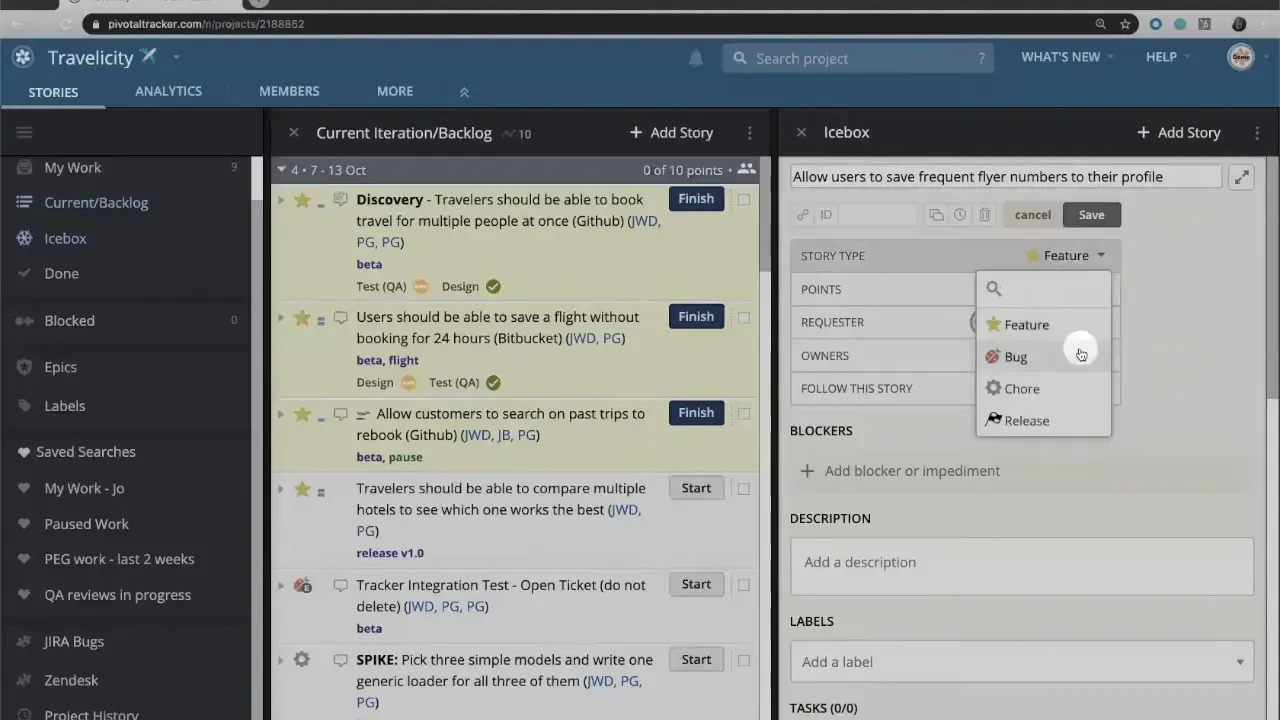
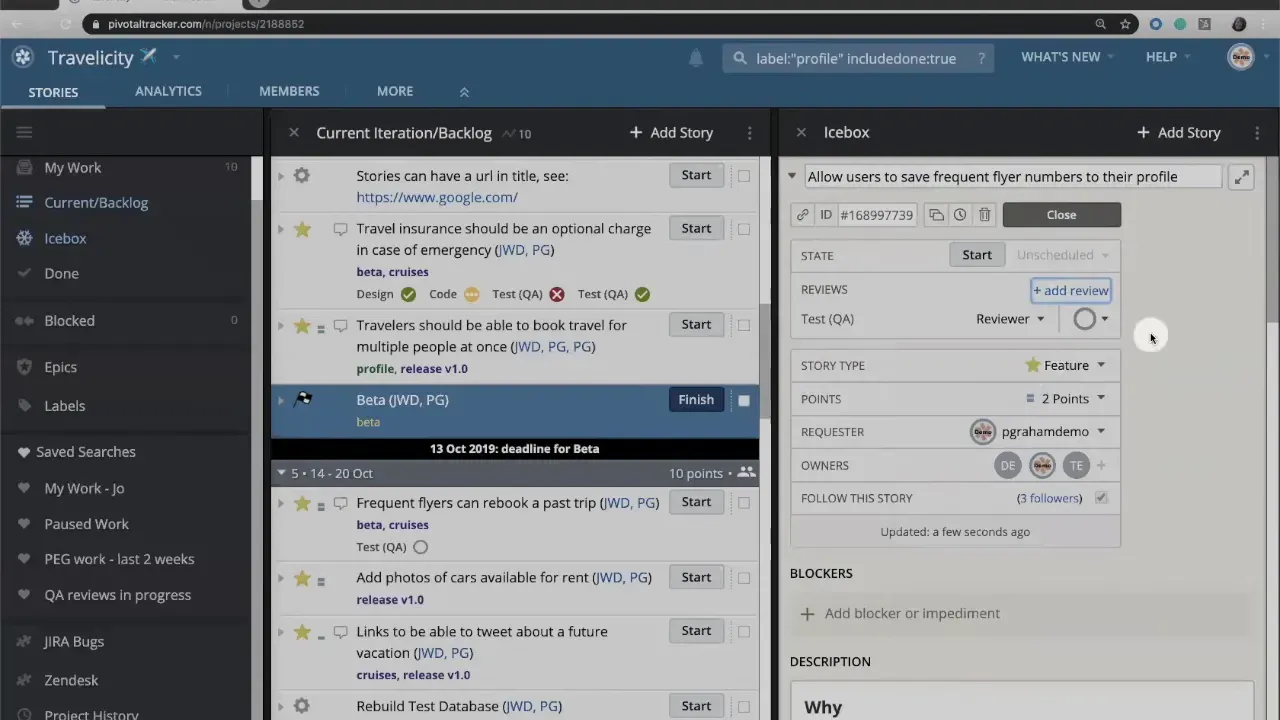
Step 3: Select the correct story type
Pick the story type that best fits the work. In LiteTracker you usually choose between:
- Feature — new customer-facing functionality
- Bug — something not working as intended
- Chore — backend or internal work like setting up sandboxes or running spikes
- Release — a grouping for planned release activities
Features and bugs follow an acceptance workflow with more sign-off steps. Chores use a simpler workflow and typically do not require product manager acceptance. Use the story type to set expectations and triggers for reviews and acceptance.
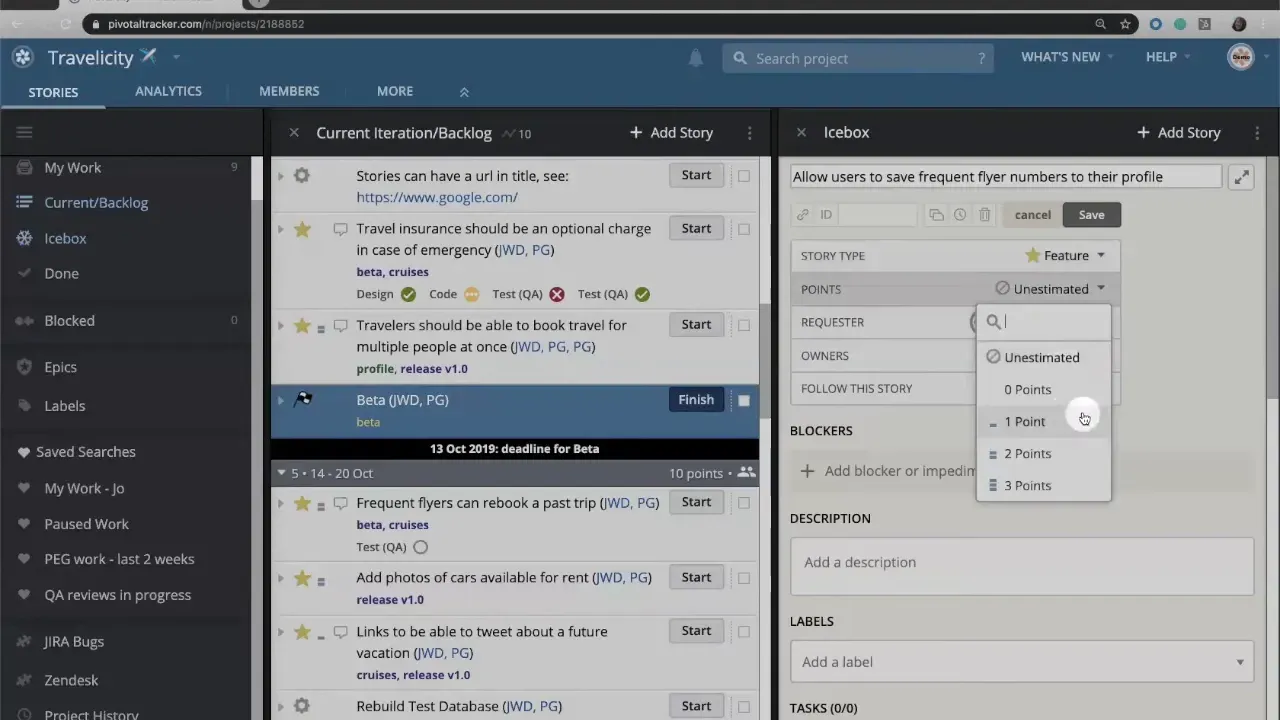
Step 4: Estimate with story points
Set story points to express relative effort and risk, not exact hours. Story points let the team compare complexity and uncertainty across stories. Discuss the story in an iteration planning meeting and reach a consensus. If votes disagree, follow your team’s working agreement: pick the higher estimate, use an average, or continue the conversation until alignment.
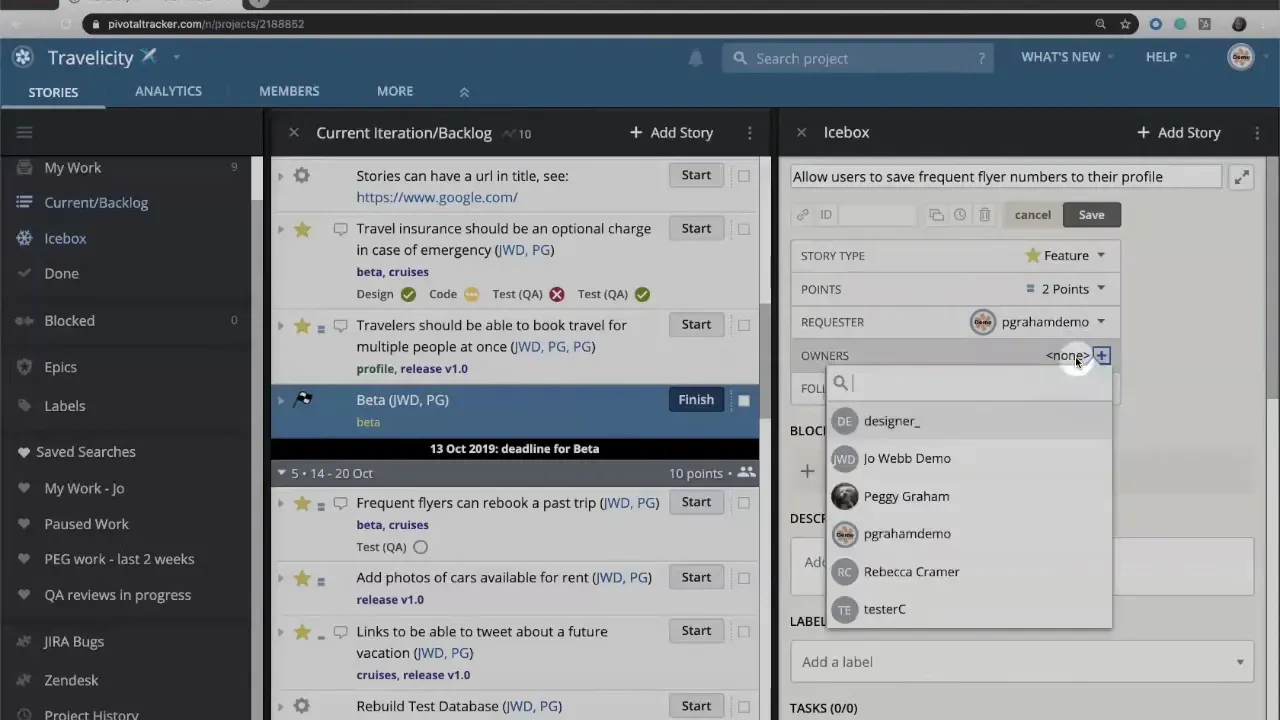
Step 5: Assign requester and owner
Complete the requester (who created the story) and the owner (who will implement it). If work is paired, list both developers, or include designer and tester when appropriate. Ownership clarifies who receives notifications and who is accountable for pushing the story through its workflow in LiteTracker.
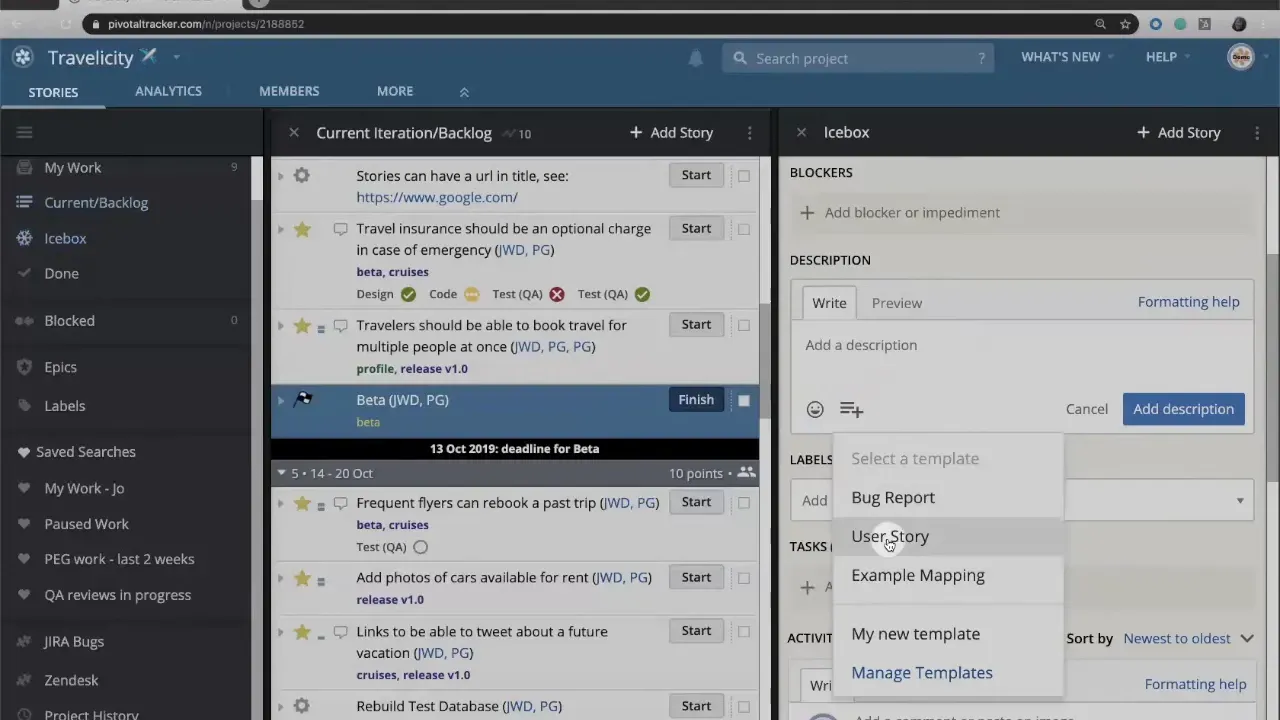
Step 6: Add a detailed description and use templates
Supply a description that captures acceptance criteria, edge cases, and interaction details. Use Markdown for formatting. LiteTracker provides out-of-the-box templates and allows custom templates so your team can standardize how stories are written.
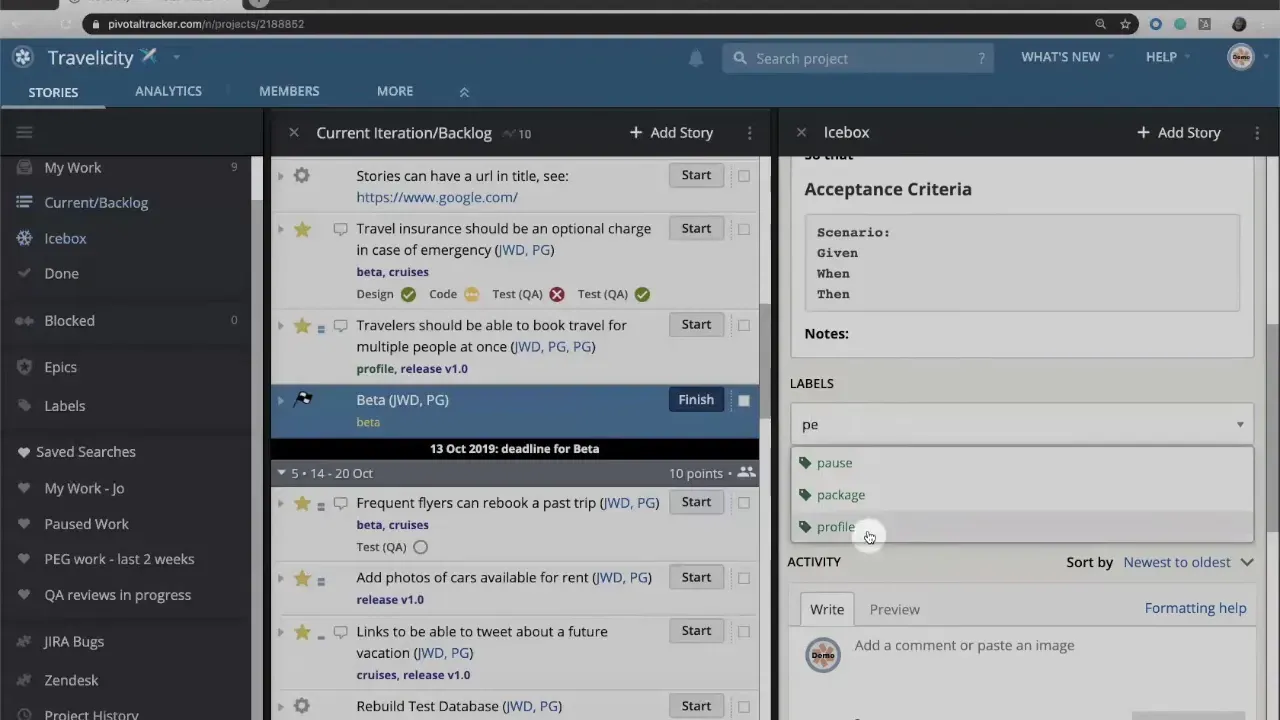
Step 7: Tag with labels and epics
Use labels to group related stories, like profile, checkout, or payment. Labels appear in green. Epics appear in purple. Labels make it easy to filter and run searches later, for example to view every profile-related story in LiteTracker.
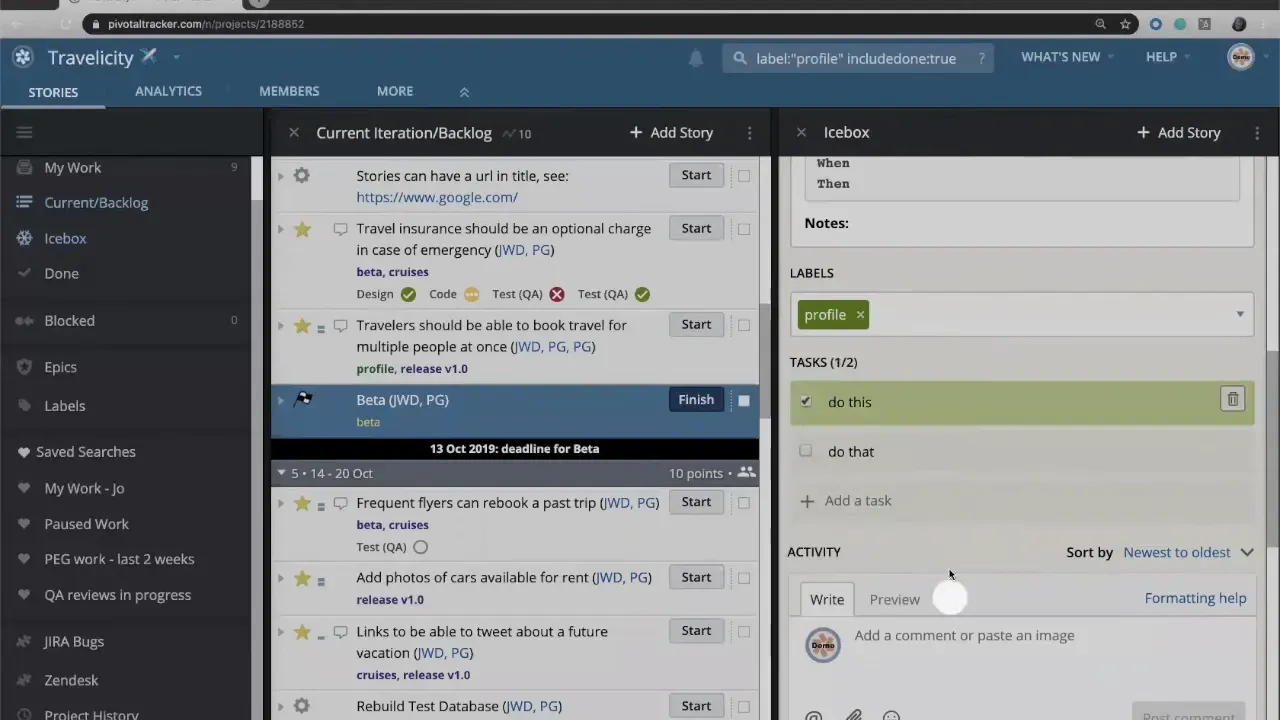
Step 8: Break work into tasks and keep notes
Add a task list for implementation steps: UI design, API endpoint, tests, and deployment checklist. Tasks are simple to-do items you can check off as they are completed. Use the notes area as a running activity feed. Designers can attach mockups, QA can add test links, and developers can log decisions. This living log keeps context with the story in LiteTracker.
Step 9: Configure reviews
Add review types relevant to the story: test QA, design, code review, security review, or any custom review your team requires. Reviews can be added after the story is created and help enforce quality gates before acceptance.
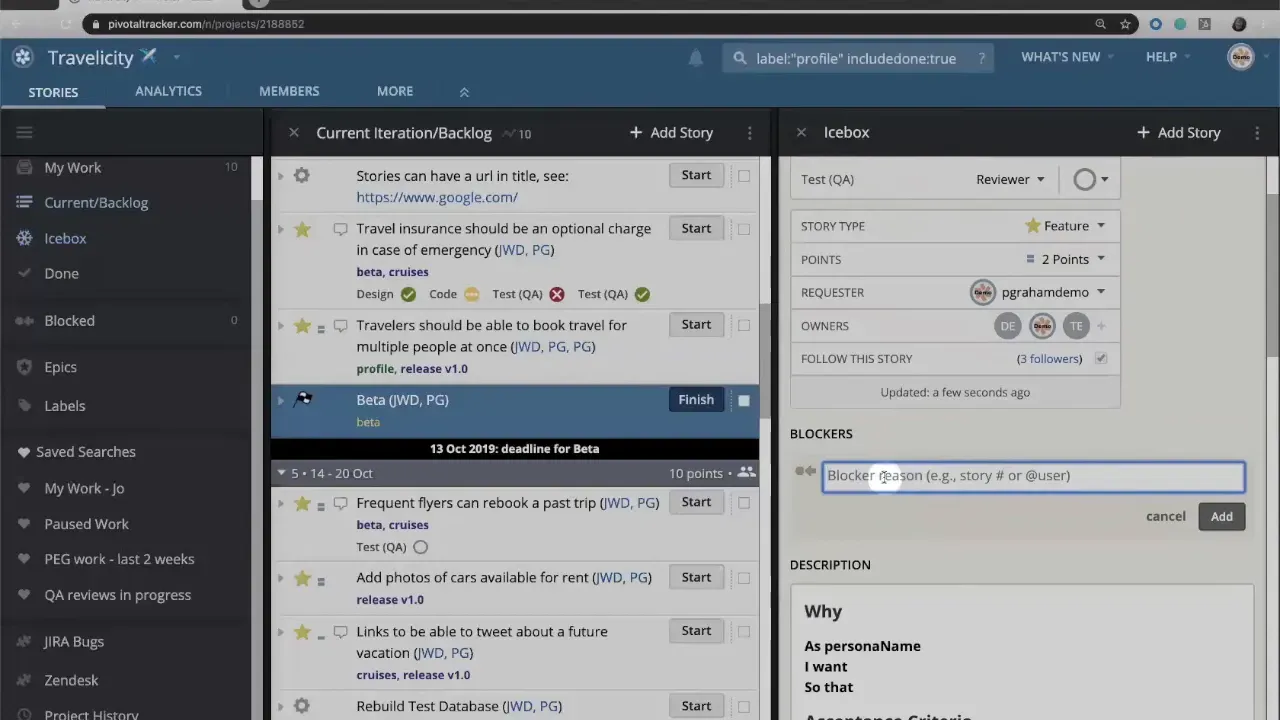
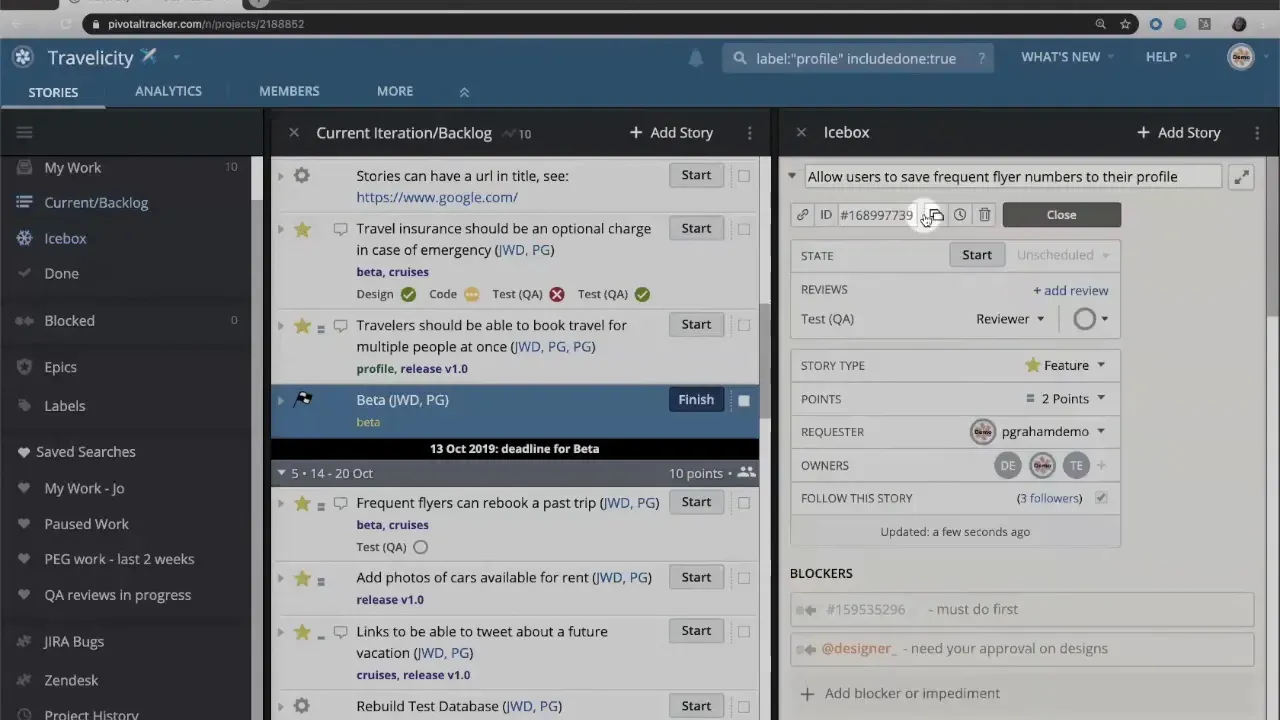
Step 10: Capture blockers and dependencies
Use the blockers field to record dependencies between stories or people. Linking the ID or URL of the blocking story makes the relationship explicit. Visual indicators show blocked and blocking states: a red arrow for stopped stories and a blue arrow for stories that are blocking others. That visual priority cue helps teams triage work in LiteTracker.
Step 11: Clone, view history, and reuse
Clone a story to copy description, labels, and tasks when similar work repeats. The activity feed is excluded from clones since it is unique to the original story. Use the history view to review every change and decision made on the story. This audit trail accelerates onboarding and postmortems when you need to know why a choice was made.
Practical tips for consistent stories in LiteTracker
- Keep acceptance criteria explicit. A simple checklist reduces ambiguity at review time.
- Favor relative estimates. Story points are about comparison, not time tracking.
- Use labels strategically. One or two labels per story is more searchable than many.
- Record blockers promptly. Mark dependencies so people know which work is high priority.
- Standardize templates. Templates speed writing and make reviews predictable across the team.
FAQ
How should I decide between a feature, bug, or chore in LiteTracker?
Choose a feature when adding customer-facing functionality, a bug for something not working as intended, and a chore for backend or internal tasks that do not directly benefit end users. The type affects workflow and required reviews.
How many story points should a typical story have?
There is no universal number. Use story points to express relative complexity compared to other stories. During planning, discuss and reach a team consensus. If disagreement persists, follow your working agreement—use the higher estimate, an average, or continue the discussion until alignment.
Can one story have multiple owners in LiteTracker?
Yes. Assign multiple people for pair programming or cross-functional work. Including designers, developers, and testers clarifies responsibilities and ensures the right people receive updates.
What does a red or blue arrow mean on a story?
A red arrow indicates a story is blocked and cannot proceed until its blocker resolves. A blue arrow indicates that the story is blocking other work. These visual cues help prioritize work that unlocks other teams.
Should I clone stories often?
Clone when a new story will reuse most of the fields—description, tasks, labels—so you save time. Remember that activity history is not copied, which is usually desirable for fresh work.
Final checklist before saving a story
- Confirm title follows a clear user intent.
- Select the correct story type.
- Estimate story points collaboratively.
- Assign requester and owner(s).
- Fill description and acceptance criteria. Use a template if helpful.
- Add labels and epics for discoverability.
- List tasks and attach necessary design files or links.
- Set reviews and mark any blockers.
- Save, then monitor history and activity as the story moves forward.
When stories follow this pattern, teams reduce ambiguity, increase throughput, and improve predictability. Use LiteTracker as your single source of truth: create stories with intention, document dependencies, and keep the conversation inside the story so work flows smoothly from idea to done.
Credits: This tutorial is created based on this original video Creating Stories in Tracker